
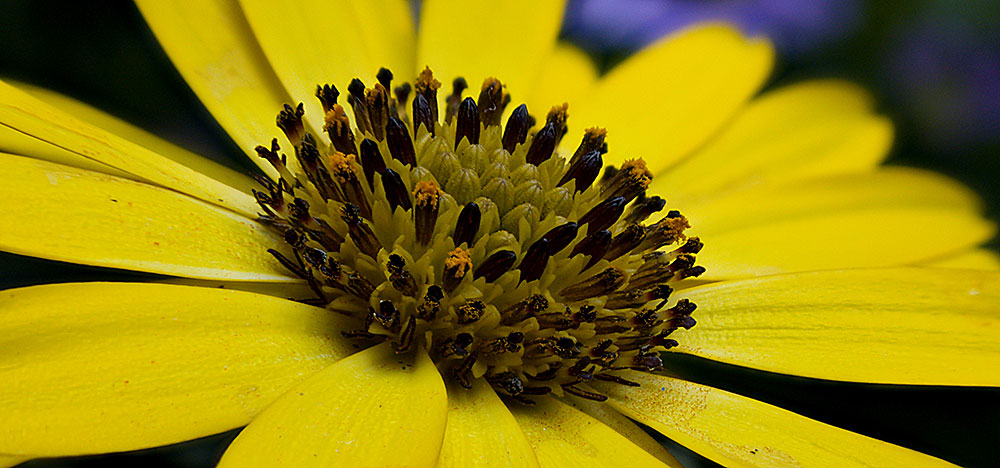
One of the challenges in macro photography is the shallow depth of field (or DoF for short). The range of the in-focus zone drastically falls off when the camera gets closer to the subject. The lack of lighting and fixed aperture on mobile phones just add to the list of factors to deal with.
In the world of professional lenses and DSLRs, the shallow DoF can be partially dealt with by narrowing an aperture, which cancels out a portion of the light cone and decreases the fall-off in sharpness. But even there, it only works to a certain degree. If the aperture becoming too narrow, light waves begin to bend and soften the image (diffraction). Luckily for all of us, DSLR and mobile photographers, there is a technique called Focus Stacking, that allows combining multiple images to extend the depth of field.
Focus stacking
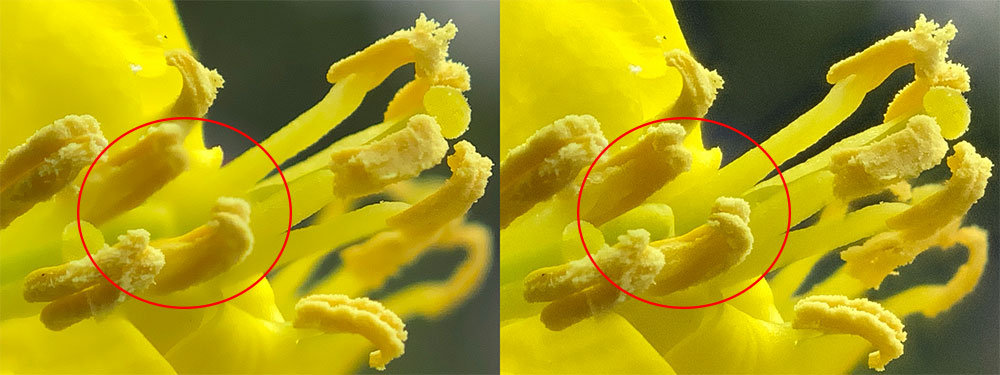
As the name suggests, focus stacking is a technique where one takes multiple photos of the same subject with a slightly different focusing distance, and then “stack” them together. By merging multiple images, the focus stacking algorithm produces one image where all or most of the frame is in focus. This technique is used by landscape photographers to get both, background and foreground of the scene in focus. But where it really shines is macro photography, where sometimes hundreds of images are stacked together just to get one all in-focus shot.
The basic idea is rather simple. You mount a camera on a tripod, compose the shot, and then take a series of images with a slightly different focus distance between shots.
In the case of the DSLR with dedicated macro lenses, a focus stack can be captured either by moving the whole camera closer to the subject or changing focusing distance to it (some cameras allow automatic focus bracketing - series of images with different focusing distance). In the world of mobile photography, the focus stack is usually captured by changing focusing distance rather than moving the camera closer to the subject. With that in mind, there are two options available:
Option 1. Manual focus
As was mentioned above, the focus stack is a sequence of photos with slightly different focusing distances. On iOS, there is a myriad of manual camera apps that allow manual change of the focus. One of such apps is Chromatica. With Chromatica you can manually adjust the focusing distance and take multiple shots with different parts of the scene in focus. This is a viable solution if you take a landscape shot, where 2 or 3 shots is usually enough to capture the whole scene in focus. Things may get complicated if you are using macro photography. In macro photography, in order to get the whole subject in focus from 20 to 100 and more shots are needed.
Manually adjusting focus and waiting for a few seconds to take a single shot (prefer using the timer to avoid unintentional shakes of the camera) may take a few minutes per sequence.
Option 2. Automatic focus bracketing
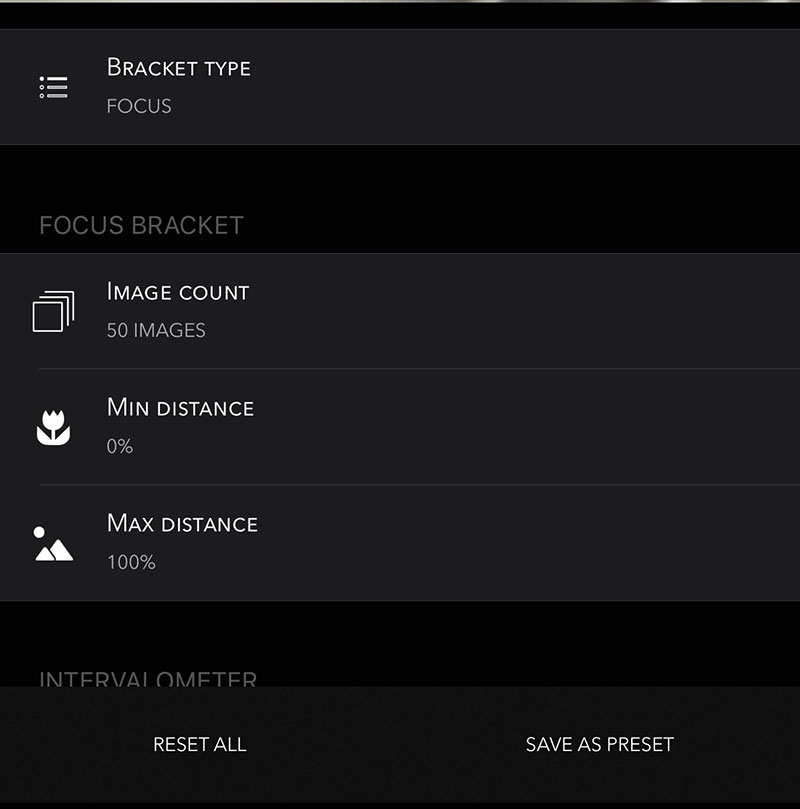
When the number of photos in stack 5 and more, the automatic focus bracketing is a better alternative to manual focus adjustments. CameraPixels is among a few apps with extensive bracketing capabilities. The focus bracketing is a mode in which the camera takes a sequence of photos with different focus distances, usually fully automatically. You have to specify start and end focusing distances and the number of images to take, and the rest is done by the camera app automatically.
Stacking images
Once the sequence of images captured, they should be stacked or merged together to get one all in-focus image. There are a few software packages allowing focus stacking, among which Adobe Photoshop (Windows, MacOS), Helicon Focus (Windows, MacOS) and Afinity (Windows, MacOS, and iOS). Each of the software packages has its own set of controls and settings to guide the merging process.
In this post, we will use the Helicon Focus app to stack our captured photos (the app has a free trial period of 30 days allowing us to try it out before buying).
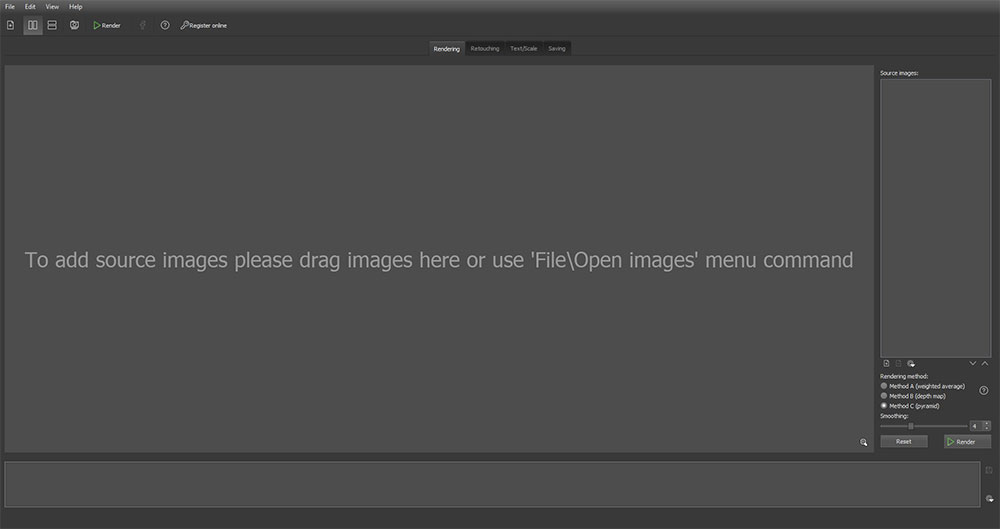
When you open the Helicon Focus app, it asks you to add source images you want to stack. You can use the File menu or drag-and-drop operation.
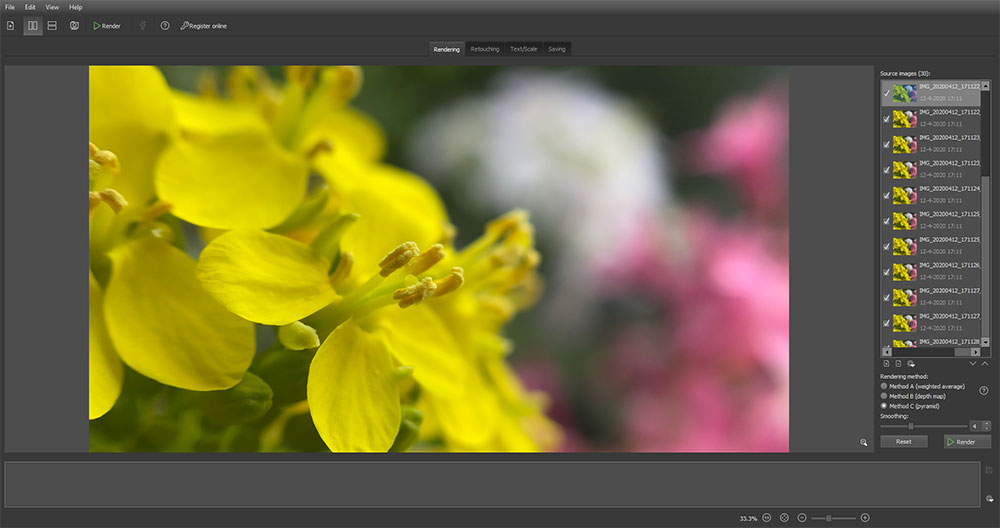
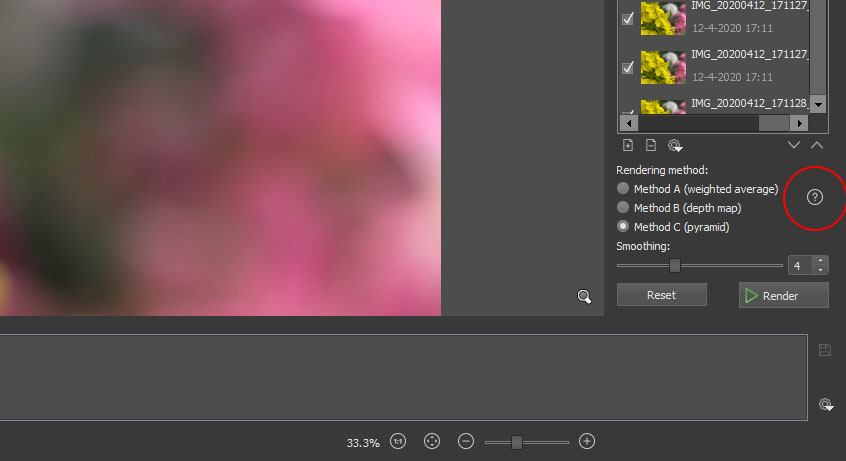
Once you have loaded the sequence of images to stack, the Helicon Focus allows you to inspect each image in a sequence and choose the merging algorithm. When you merge a series of images it's better to make sure that images are well aligned between each other, otherwise, you'll get merging artifacts. Therefore, carefully inspect all loaded images for the presence of large misalignment and deselect them if found. The next step is to select the merging algorithm and the Helicon Focus has a great support page which can be accessed by pressing "?" icon:
One all settings are properly selected, press the Render button and wait for a few moments while the Helicon Focus merges the images. It can take a few trials with different settings before you get the image you're satisfied with. Remember, that focus stacking requires patience and focus 😉

Great app. Been using it for a couple of weeks and very impressed, especially with Focus Bracketing for macro photography. Looking forward to receipt of new Reeflex lenses in the New Year for my iPhone 15PM to exploit the potential with the 2 macro lenses in the set.
Other than by trial and error, is there any guidance on how to set the Min and Max distances for macro photography. The Min seems to work ok at Minimum Focal Length but the Max is harder to judge the setting for say a 3cm depth of field.
Thank you! To determine the minimum and maximum focusing distances, employing manual focus prior to capturing can be effective. By activating the focus peaking feature, you can observe which areas of the scene are in focus while making manual adjustments. Start by fine-tuning the manual focus until the closest object of interest is sharp; note down this manual focus value as your minimum distance. Next, adjust the manual focus until the farthest object of interest is also in sharp focus; this setting will represent your maximum focus distance.
Hi there
Macro photography is my main focus of work (using my Mirrorless Cameras) and I use focus bracketing a lot and when I saw your app I said this is incredible to have this option on the smartphone, so I downloaded the lite version and quite happy with it and ready to buy the paid version but the only thing which is holding me back is the lack of the Macro option on the included mode in your app.
I have Halide app on my iphone (12 pro max) and has this function (Macro) which is great and works fine without the need to zoom, and i am wondering how can your app has this great Focus Bracketing option without having a Macro mode (with no need to zoom by the user).
I think it will be a great addition if you include Macro option mode (similar to Camera+2 and Halide).
Regards
Mohamed
Hi, unfortunately iPhone doesn’t have a real optical zoom, so what you see in other apps is just a digital zoom wrapped in a nice PR. Until iPhone 13 Pro Max, which has an ultra wide camera capable of focusing on subjects as close as 2 cm, most other iPhone models won’t be able to focus on the subjects closer than 12 cm. The best combination for macro photography with iPhone is to use external macro lens or use a professional super-resolution software to crop-and-enlarge your final image